How to create interactive HTML/CSS labs?
We'll divide this part into 5 sections:
- Creating lab metadata
- Setting up lab defaults
- Setting up lab challenges
- Setting up evaluation script
- Setting up test file
Introduction
This guide would assume that you already have created an interactive course from your instructor panel. If not, go here and set it up first
Step 1 - Creating lab metadata
- Add a new item lab in your course curriculum page
![]()
A new lab item gets added. Click on the edit pencil button on the right. This should open the lab library widget in your instructor panel.
You should now be able to write a quick lab name and press on "Create Lab" button. This would create a lab you would be able to edit.
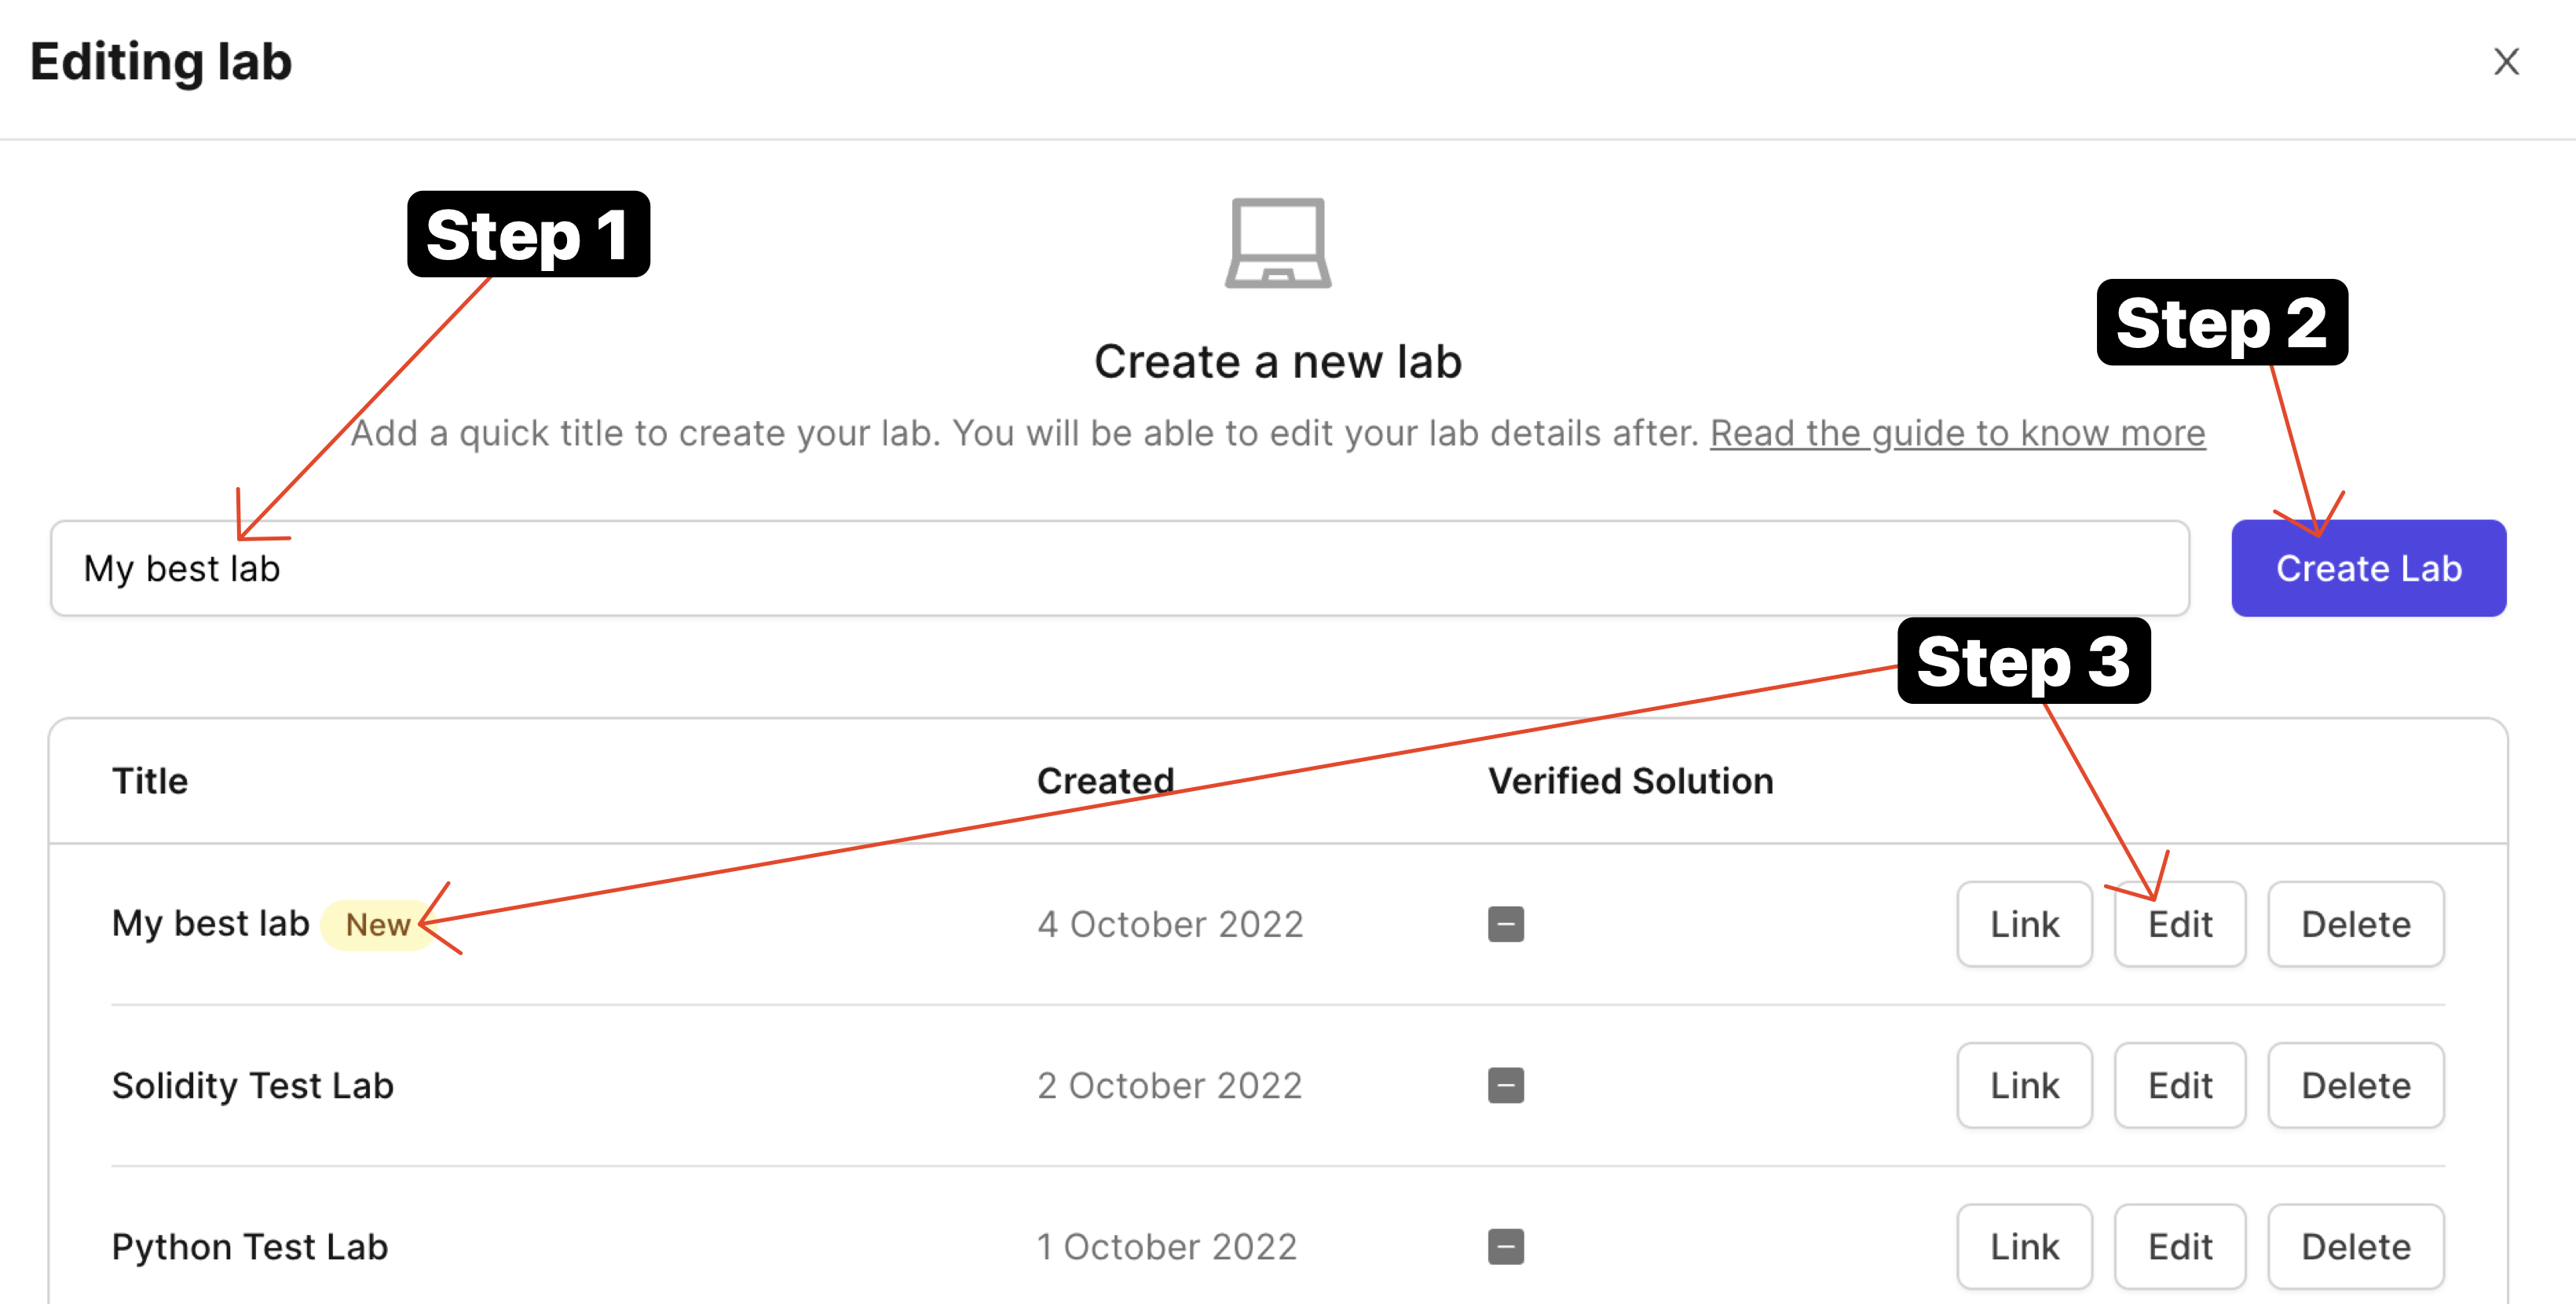
- Once it is created, click on the "Edit" button and you'll arrive at lab designer view.

This is where you will add metadata to your labs and setup your labs for evaluation. Let's take a look at all the tabs here.
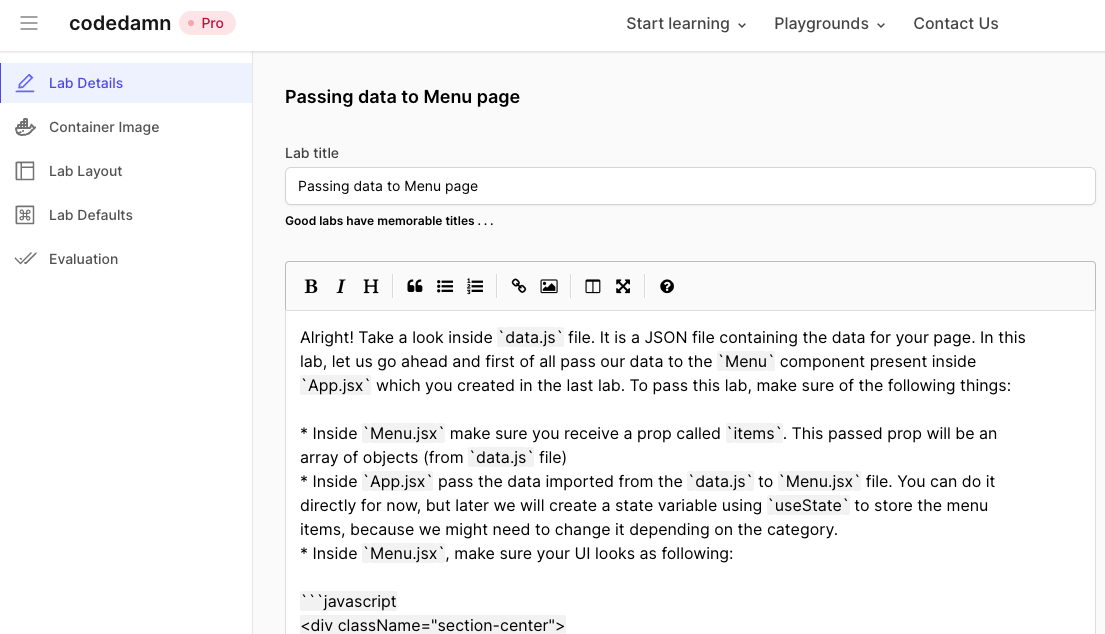
Lab Details
Lab details is the tab where you add two important things:
- Lab title
- Lab description
Once both of them are filled, it would appear as following:
Let's move to the next tab now.
Container Image
Container image should be set as "HTML/CSS" for HTML/CSS labs. The following software are available by default in this image:
static-servernpm package installed globally: static-server- Puppeteer installation with Chrome for E2E testing (more on this in Evaluation tab)
- Node.js v18, Yarn, NPM, Bun
The following NPM packages (non-exhaustive list) are globally installed:
- [email protected]
- [email protected]
- [email protected]
- [email protected]
- [email protected]
- [email protected]
- @drizzle/[email protected]
- [email protected]

Lab Layout
Lab layout can be used to set a default layout in which the lab boots. We currently support the following layout types:
Terminal + IDE + Browser
This would include everything codedamn has to offer - a terminal at the bottom, an IDE in center (powered by Monaco on desktops, and CodeMirror on mobile phones), and a browser preview of (ideally) what user is working on. This is best if your playground runs a HTTP server.
Terminal + Browser
This layout is for times when you don't need IDE in place, and only want something hosted inside a browser - like a XSS challenge.
Terminal + IDE
This layout is for backend programming without website UI. This would only include a terminal and an IDE - like VS Code. For example - headless E2E testing, writing Python scripts, discord bots, etc.
Terminal only
This would not include anything, except for a terminal. Best for Linux/bash labs where you want users to exclusively work with terminals only.
TIP
You can configure the layout through .cdmrc file too. More information here
Step 2 - Lab Defaults
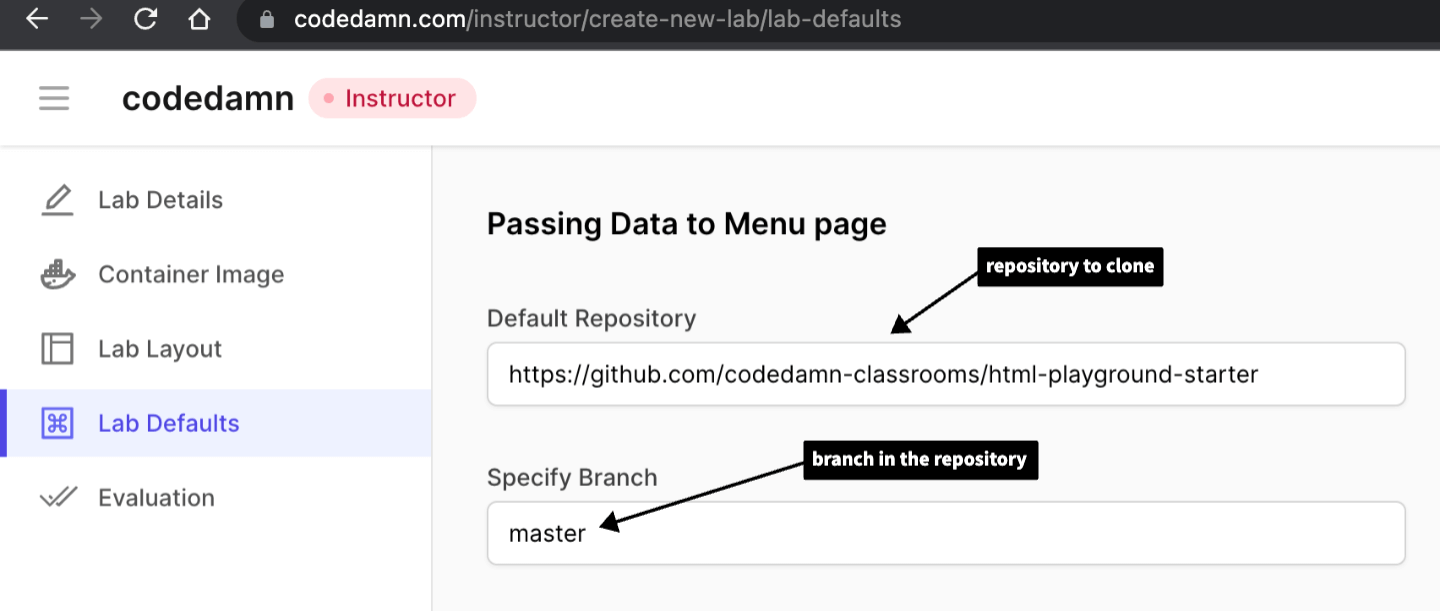
Lab defaults section include how your lab environment boots. It is one of the most important parts because a wrong default environment might confuse your students. Therefore it is important to set it up properly.
When a codedamn playground boots, it can setup a filesystem for user by default. You can specify what the starting files could be, by specifying a git repository and a branch name:
TIP
For HTML and CSS playground, we recommend you to fork the following repository and use it as a starter template: HTML playground starter - codedamn
INFO
You will find a .cdmrc file in the repository given to you above. It is highly recommend, at this point, that you go through the .cdmrc guide and how to use .cdmrc in playgrounds to understand what .cdmrc file exactly is. Once you understand how to work with .cdmrc come back to this area.
Step 3 - Lab challenges
Next step is to setup challenges and evaluation for your lab. This is the part where your learners can learn the most because they will have to pass certain challenges.
TIP
It is highly recommended for you to watch the video below to understand the architecture
This is the biggest advantage of using codedamn for hosting your course too - to make them truly interactive and hands-on for your users.
Let's start by setting up challenges.
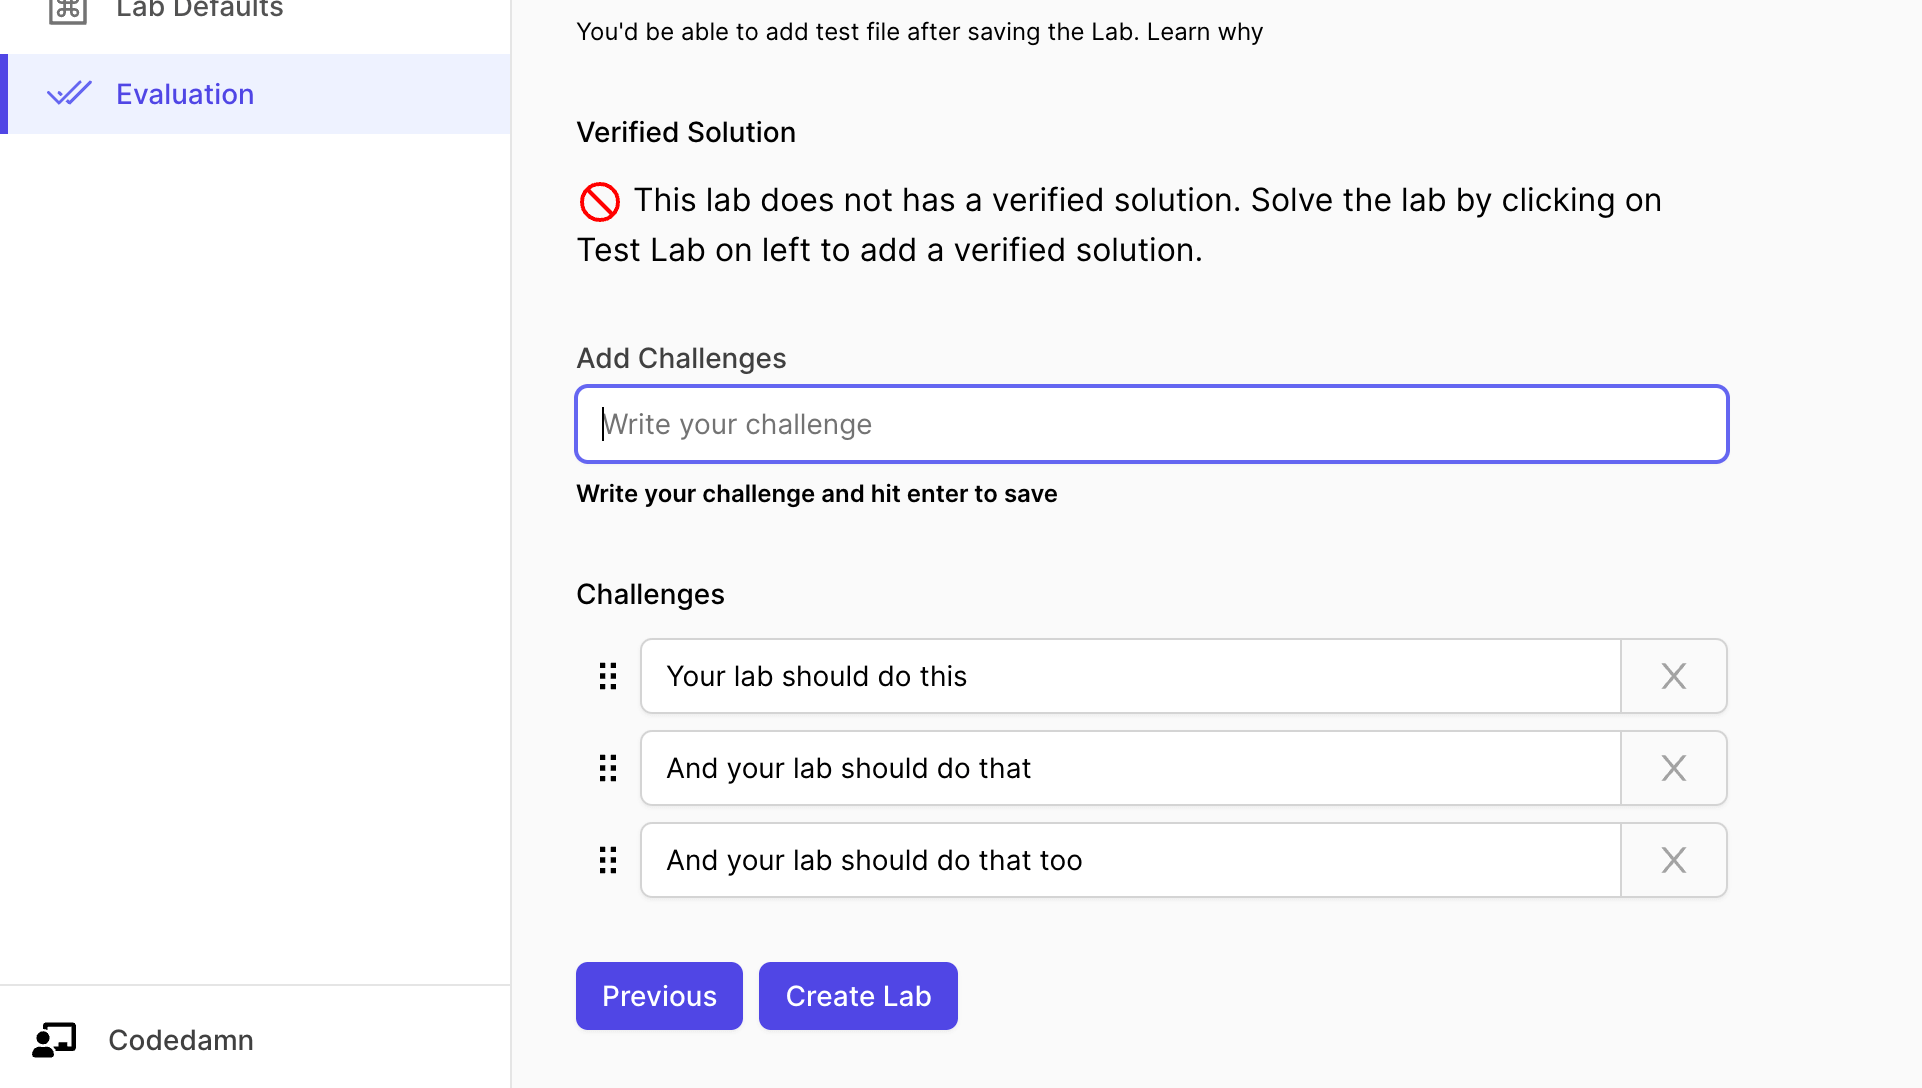
The interface above can be used to add challenges to your lab. You can also add hints to every single challenge you put here.
TIP
When the user runs the lab but fails a few challenges, the hint for that particular failed challenge is displayed to the user.
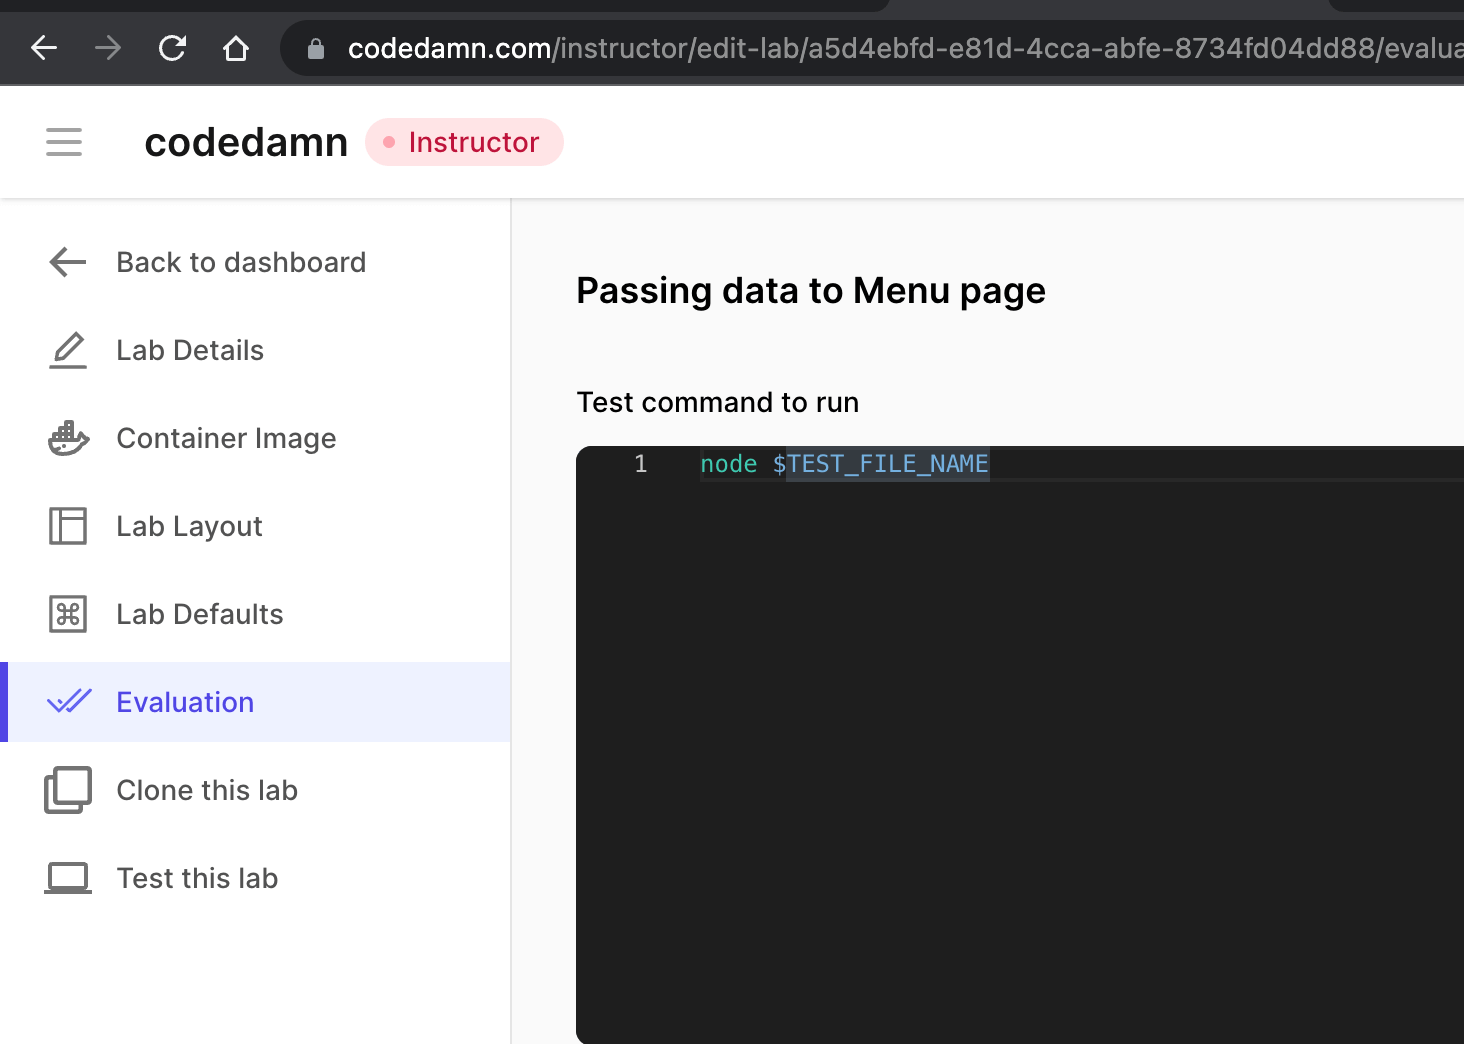
Step 4 - Evaluation Script
Evaluation script is actually what runs when the user on the codedamn playground clicks on "Run Tests" button.

Since we have already written a pure evaluation script that runs and finally writes the JSON result to the UNIT_TEST_OUTPUT_FILE environment, all we have to do is trigger that script via Node.js.
The full path of the script is made available at run-time with another environment variable called TEST_FILE_NAME. Therefore, all we have to do is write the following in the evaluation script area:
#!/bin/bash
set -e 1

mkdir -p /home/damner/code/.labtests
cd /home/damner/code/.labtests

cat > package.json << EOF
{
    "type": "module"
}
EOF

cat > playwright.config.ts << EOF
import { defineConfig, devices } from '@playwright/test'
import puppeteer from 'puppeteer'

export default defineConfig({
	timeout: 10_000,
	maxFailures: 0,
	testDir: '.',
	fullyParallel: false,
	forbidOnly: true,
	retries: 0,
	workers: 1,

	// Reporter to use
	reporter: [['list'], ['json', { outputFile: './report.json' }]],

	use: {
		baseURL: 'http://localhost:1337/',
		trace: 'off',
		launchOptions: {
			headless: true,
			executablePath: puppeteer.executablePath(),
			chromiumSandbox: false
		}
	},

	projects: [
		{
			name: 'chromium',
			use: { ...devices['Desktop Chrome'] }
		}
	]
})
EOF

mv $TEST_FILE_NAME nodecheck.spec.js

npm link puppeteer
bun install @playwright/[email protected] [email protected] fs-extra

bunx playwright test || true

# process results file
cat > process-results.js << EOF
import fs from 'fs-extra'
const payload = JSON.parse(fs.readFileSync('./report.json', 'utf-8'))
const answers = payload.suites[0].suites[0].specs.map(spec => spec.tests[0].status === "expected")
fs.writeFileSync(process.env.UNIT_TEST_OUTPUT_FILE, JSON.stringify(answers))
EOF

node process-results.jsThis will make sure we run the full Node.js script and write the results properly for the playground IDE to read. It would look like the following:
Note: You can setup a full testing environment in this block of evaluation script (installing more packages, etc. if you want). However, your test file will be timed out after 60 seconds. Therefore, make sure, all of your testing can happen within 60 seconds.
Step 5 - Test file
You will see a button named Edit Test File in the Evaluation tab. Click on it.
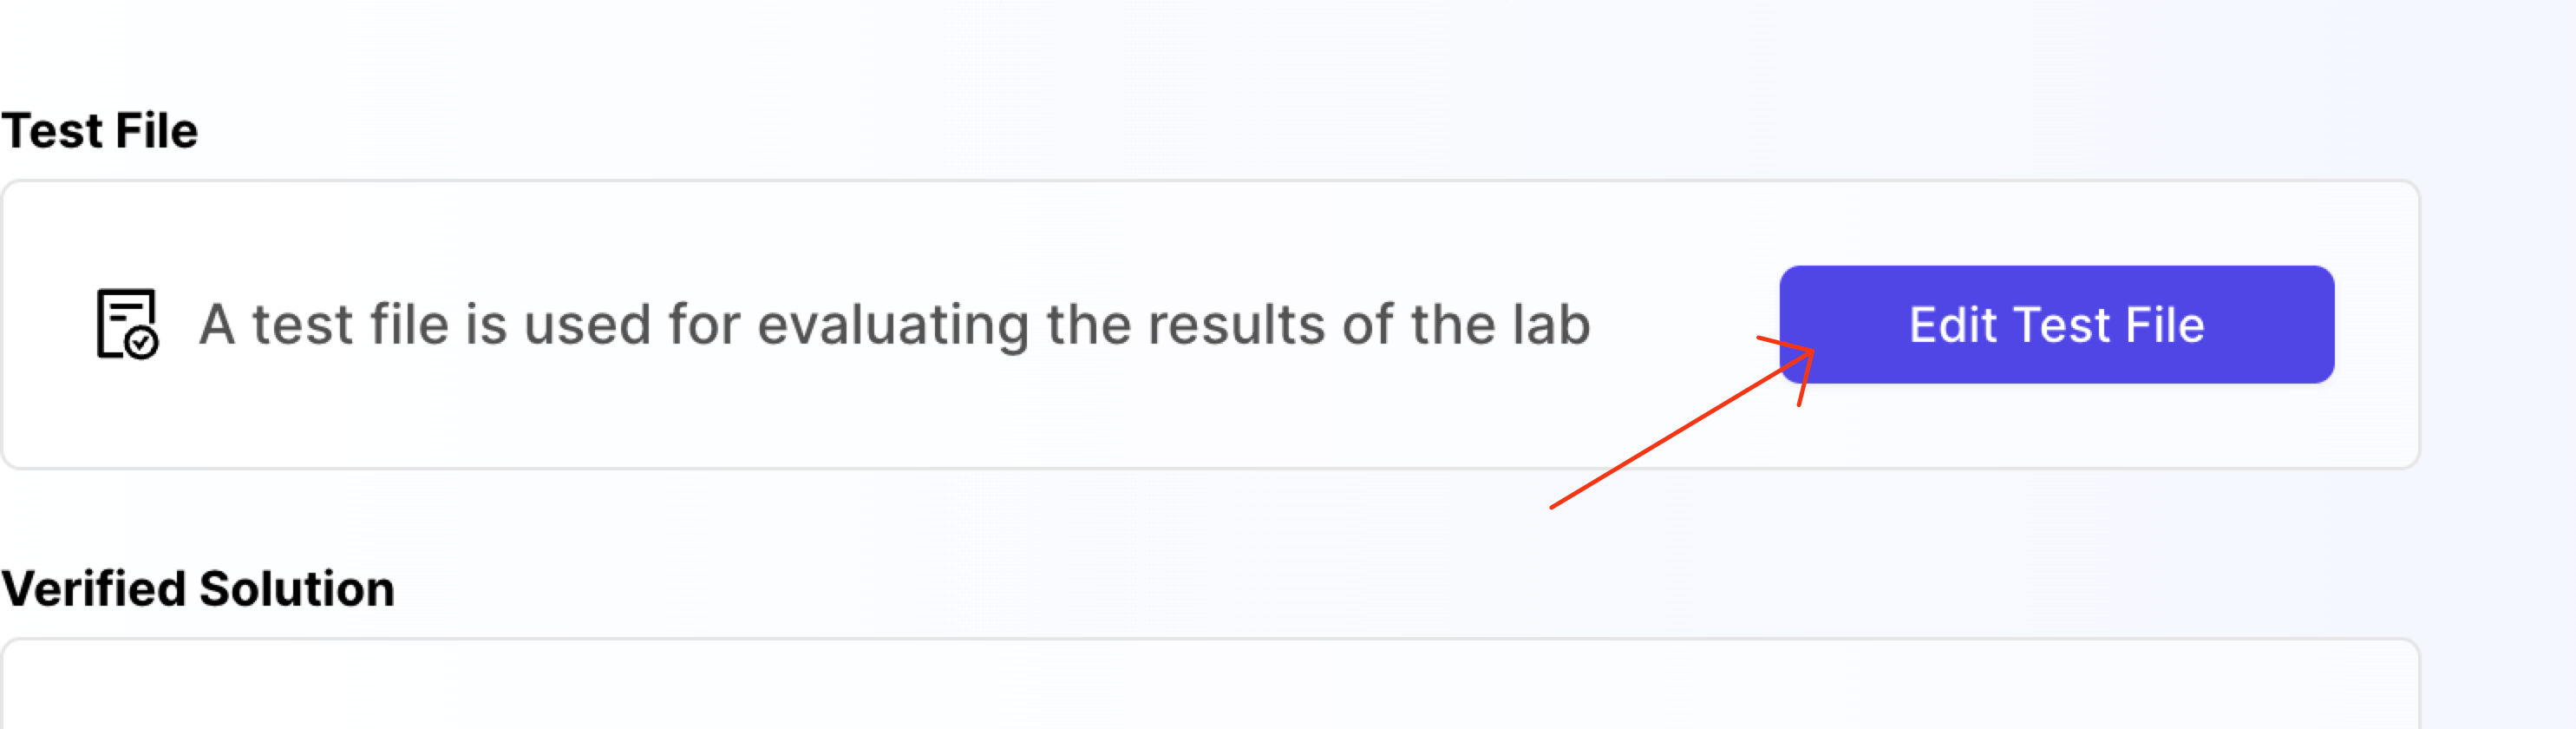
When you click on it, a new window will open. This is a test file area.
You can write anything here. Whatever script you write here, can be executed from the Test command to run section inside the evaluation tab we were in earlier.
The point of having a file like this to provide you with a place where you can write your evaluation script.
For HTML/CSS labs, you can use the default test file for playwright:
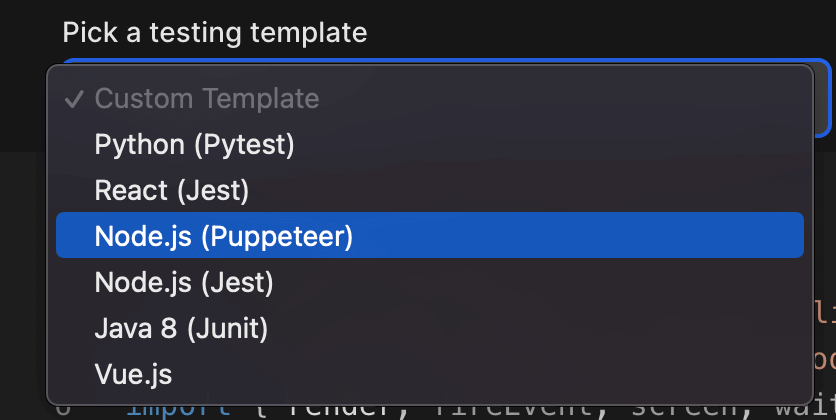
The moment you select the Node.js (Puppeteer), the following code should appear in your editor:
import { expect, test } from '@playwright/test'

test.describe.serial('Test', () => {
	test.beforeEach(async ({ page }, testInfo) => {
		console.log(`Running ${testInfo.title}`)
		await page.goto('/')
	})

	test('Stylesheet is linked', async ({ page }) => {
		const linkElement = page.locator('link[rel="stylesheet"]')
		expect(linkElement).toBeDefined()
		expect(await linkElement.getAttribute('href')).toEqual('style.css')
	})
})
- Note: If your
resultsarray contain less values than challenges added back in the UI, the "extra" UI challenges would automatically stay as "false". If you add more challenges in test file, the results would be ignored. Therefore, it is important that theresults.lengthis same as the number of challenges you added in the challenges UI.
This completes your evaluation script for the lab. Your lab is now almost ready for users.
Setup Verified Solution (Recommended)
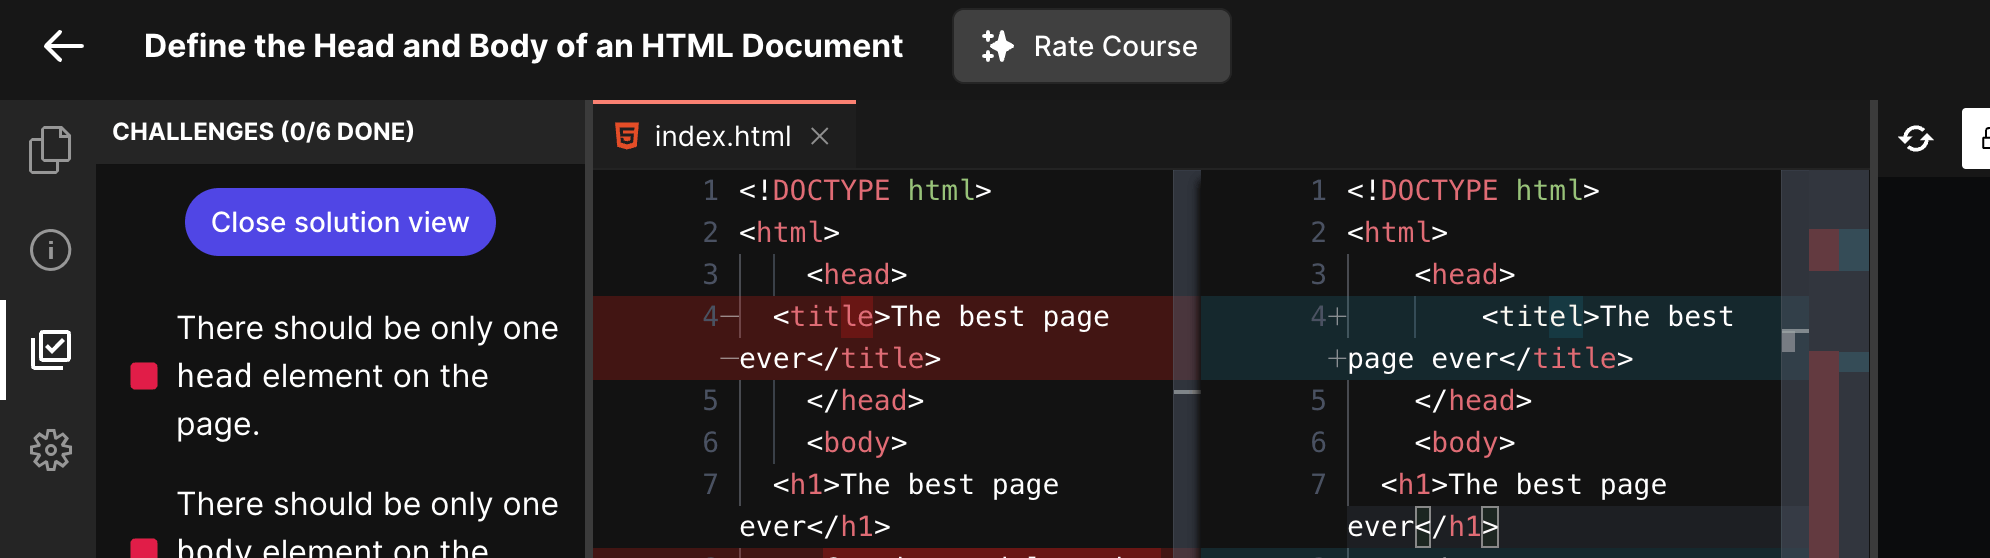
Verified solution is highly recommended. To setup a verified solution for your lab, once your lab is ready, all you have to do is click on "Test lab", write code that passes your lab, and run that code once.
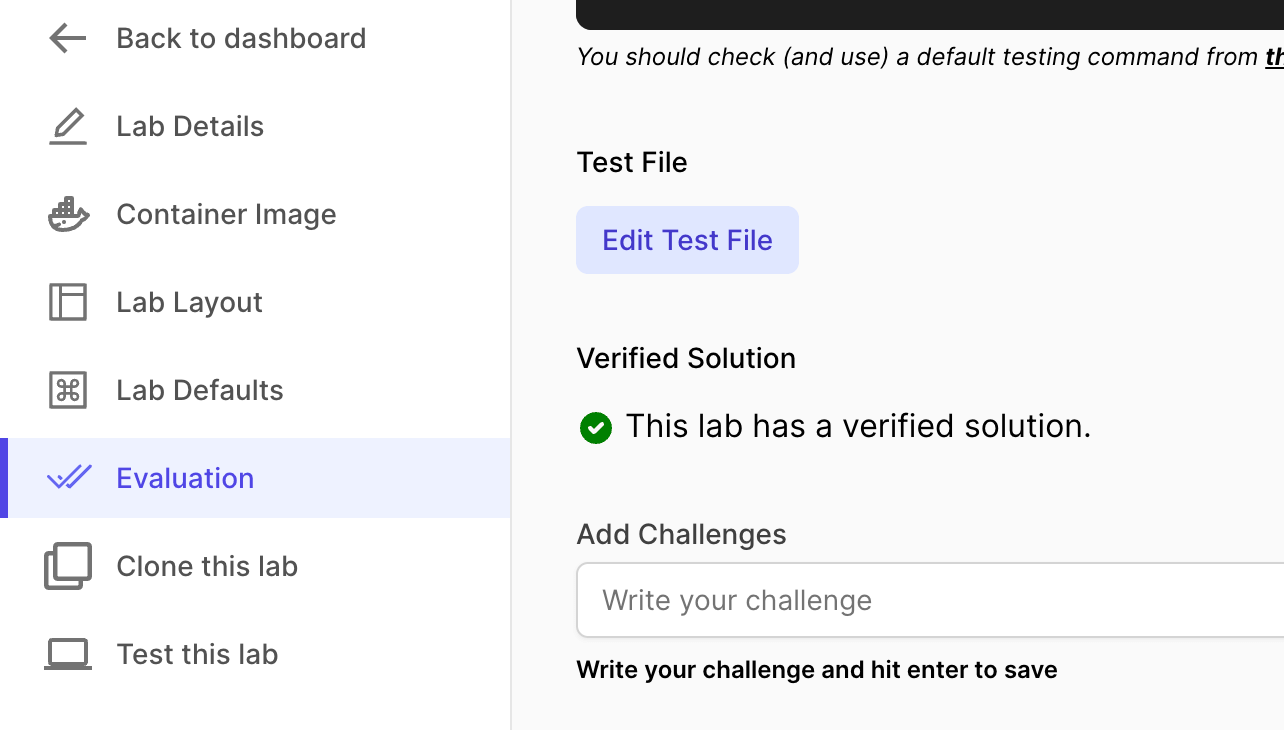
Once you do that, your lab would be marked a lab having verified solution. It also helps students as we can show them a Monaco diff editor showing the verified solution from the creator (you).
At this point, your lab is complete. You can now link this lab in your course, ready to be served to thousands of students 😃 Watch the video tutorial below to understand: